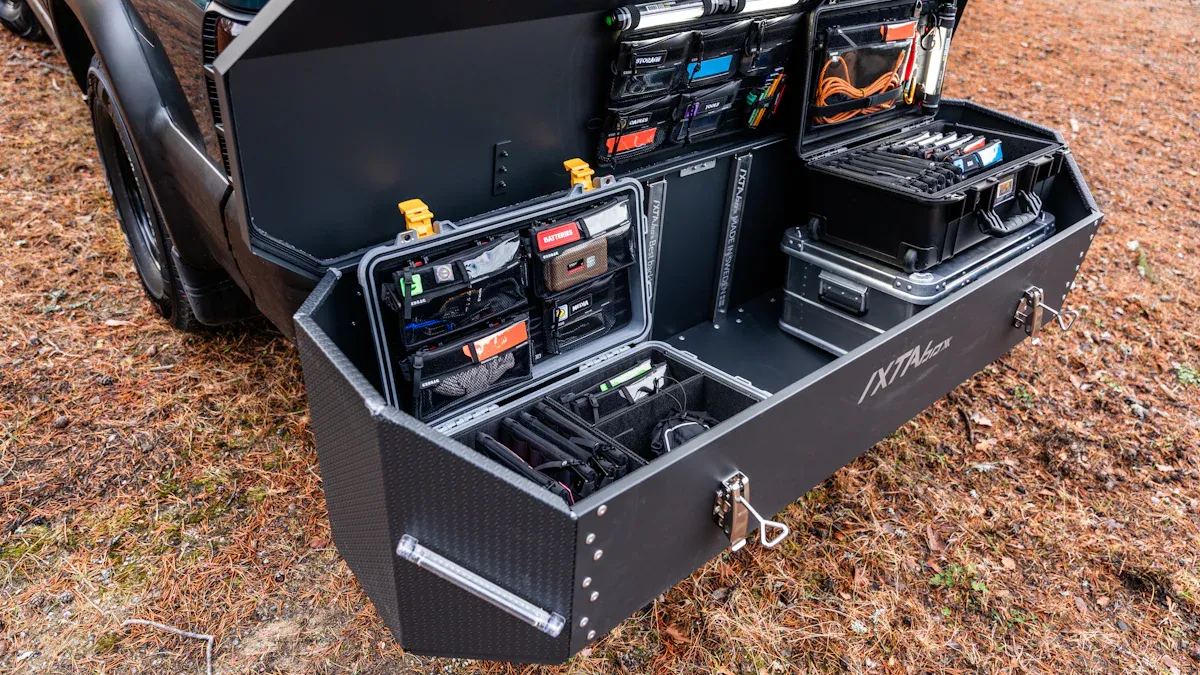
![Open Top Tool Tote Organization Hacks You Need]()
Ready to transform your tool tote top into an easy-to-manage system? Start by laying out every tool you own. Take a moment to remove duplicates and keep only what you need. Assign each tool a specific spot. This step brings instant organisation and saves you time every day. When you stick to this system, you always know where each tool lives.
Tool Tote Top Organization
Inventory First
Lay Out All Tools
Start by emptying your tool tote top completely. Spread out every tool you own on a flat surface. This step helps you see exactly what you have and makes assessing your tools much easier. When you do a full inventory, you avoid missing items and can spot anything that doesn’t belong. Many people find that organizing inventory before counting saves a lot of time. Sorting your tools by category—like screwdrivers, pliers, or wrenches—creates a logical structure. You’ll notice right away if you have damaged or outdated tools that need to go.
Tip: Counting your tools in sections prevents mix-ups and missed items. If you use digital tools or apps, you can speed up the process and reduce errors.
Identify Duplicates
Once you lay out your tools, check for duplicates. You probably don’t need three of the same screwdriver in your tool tote top. Removing extras frees up space and keeps your tool bag lighter. It also helps you avoid overloading your hot tools bag, which can lead to damage or lost items. If you find broken or unnecessary tools, set them aside for repair or donation. This step ensures your organization and accessibility stay on track.
Assign Designated Spots
Quick Access Areas
Now that you have a clean slate, it’s time to assign each tool a home. Place your most-used tools in the quick access areas of your tool tote top. For example, keep your favorite pliers or tape measure in the outer pockets or loops. This way, you grab what you need without digging through your tool bag. Assigning tools to specific pockets or loops prevents the common mistake of tossing everything in randomly. You’ll save time and frustration every day.
Place screwdrivers in side loops.
Store power tools in the main compartment.
Use small pouches for loose items like screws or drill bits.
Deep Storage Zones
For tools you use less often, use the deeper storage zones of your hot tools bag. These areas are perfect for specialty tools or backup items. Group similar tools together and use dividers if your tool tote top allows. Labeling these sections helps you find what you need quickly and keeps your organization system strong.
Note: Assigning designated spots for each tool not only speeds up retrieval but also prevents damage and clutter. You’ll always know if something is missing, and your tool bag will stay neat.
A well-organized tool tote top means you maximize space, improve accessibility, and make every project smoother. Stick to this system, and you’ll notice a big difference in your workflow and the life of your hot tools bag.
Sorting and Grouping for Organisation
Getting your tool tote organized isn’t just about putting things away. You want an intuitive organization system that helps you grab what you need fast. Sorting and grouping your tools by how often you use them and what they do makes your workflow smoother and your tote easier to manage.
Frequency Groups
Daily Use
Start by thinking about which tools you reach for every single day. These are your go-to items. Place them in the most accessible spots—think outer pockets or the top layer of your tote. This strategic organization keeps your workflow efficient and saves you from digging around.
Tape measure
Utility knife
Favorite screwdriver
Pliers
Tip: Keep your daily use tools in separate compartments or pouches. This way, you always know where to find them, and you avoid clutter.
Occasional Use
Some tools only come out for special tasks. You don’t need them all the time, so store them in deeper sections or less accessible pockets. Group these together, but keep them sorted by type. You’ll still find them quickly when you need them, but they won’t get in the way of your daily essentials.
Specialty wrenches
Wire strippers
Spare batteries
A quick check every week helps you keep these tools in order and prevents your tote from getting overloaded.
Function Groups
Cutting
Gather all your cutting tools in one spot. Scissors, snips, and utility knives belong together. Use a small bin or a divider to keep them from mixing with other items. This method of packing by purpose makes it easy to see if something is missing.
Fastening
Screwdrivers, nut drivers, and wrenches work best when grouped. Place them in a section close to the top for quick access. If you use different sizes, line them up in order. You can even use color-coded bins or tags to make identification faster.
Measuring
Keep your measuring tools—like tape measures, levels, and squares—in a dedicated compartment. A clear pouch or labeled pocket works well. This keeps them protected and easy to grab when you need to check your work.
Note: Dividing your tote into smaller bins or using dividers helps prevent mixing and reduces picking errors. Label each section clearly for even faster retrieval.
Here’s a simple table to help you visualize your organization:
| Tool Type | Placement | Storage Tip |
| Daily Use | Top layer/outer pocket | Separate compartments |
| Occasional Use | Deep pocket/side pouch | Group by type |
| Cutting | Small bin/divider | Keep together |
| Fastening | Top section/row | Line up by size |
| Measuring | Labeled pocket/pouch | Use clear containers |
When you group your tools by frequency and function, you create a tote that works with you, not against you. This approach keeps your organization strong and your projects running smoothly.
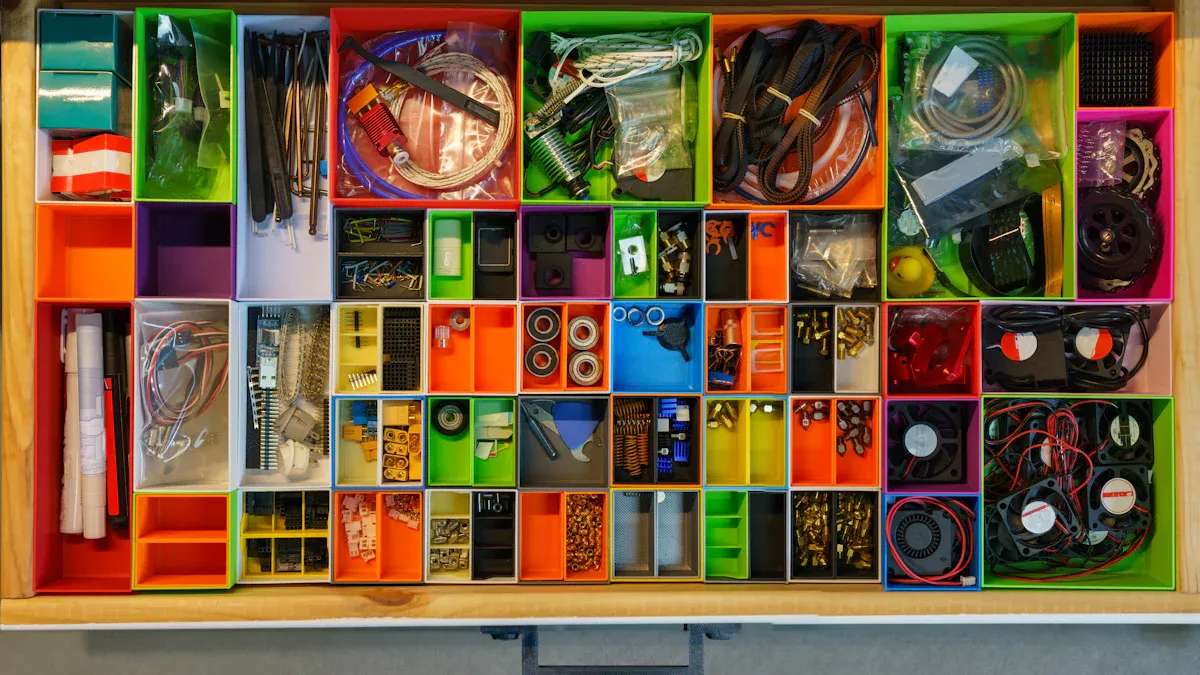
Dividers, Pouches, and Inserts
![Dividers, Pouches, and Inserts]()
Dividers
Adjustable
Adjustable dividers give you total control over your tool tote layout. You can move them around to fit different tools or change the setup when you add new gear. If you work on different projects, you might need to switch things up often. Adjustable dividers let you do that without hassle. You can find store-bought options that snap into place, or you can make your own with foam board or sturdy cardboard. Just cut them to size and slide them in. This way, you keep your tote flexible and ready for anything.
Fixed
Fixed dividers work best if you want a set layout that never changes. These dividers stay in place and create permanent sections for your tools. You can use them to separate big items like drills from smaller hand tools. Some totes come with built-in fixed dividers, but you can also add your own with wood or plastic strips. Fixed dividers help you keep everything in its spot, so you never have to dig around for what you need. They also stop tools from sliding into each other and getting damaged.
Pouches
Small Parts
Pouches are a game-changer for small parts. You know how easy it is to lose screws, nails, or wire nuts at the bottom of your tote. Using pouches, especially zippered ones, saves you time because you can grab what you need fast. You keep small parts secure and visible, so nothing gets lost or misplaced. It’s easy to check what you have left, which helps you avoid buying extras you don’t need. You can clip pouches onto your tote for quick access, and their tough material keeps them looking sharp on the job.
Here’s why pouches work so well for small parts:
Quick and easy access to small items.
Keeps everything contained and visible.
Makes it simple to track inventory.
Clips onto your tote for better portability.
Durable and professional for any job site.
Essentials
You can also use pouches for your everyday essentials. Toss in your favorite tape, a small flashlight, or a set of hex keys. When you keep these items together, you always know where to find them. Try using color-coded pouches for different types of essentials. For example, use a red pouch for electrical supplies and a blue one for plumbing parts. This trick makes it even easier to grab what you need without thinking twice.
Tool Rolls
Unroll for Access
Tool rolls are perfect for keeping hand tools organized and easy to reach. Lay out your screwdrivers, wrenches, or pliers in the roll, then just unroll it when you need something. You see every tool at a glance, so you don’t waste time searching. Tool rolls work great for jobs where you need to move fast and stay organized.
Keep Neat
A tool roll also keeps your tote neat. When you finish a job, roll up your tools and tuck the roll back into your tote. This keeps everything in place and stops tools from banging into each other. You can find tool rolls in different sizes, or make your own with heavy fabric and a few stitches. Utilising organisers like tool rolls, pouches, and dividers helps you keep your tote tidy and your workflow smooth.
Clear Bins
Small Tools
Ever spend too much time searching for a tiny screwdriver or a set of Allen keys? Clear bins can solve that problem for you. When you use clear plastic compartment boxes, you see exactly what’s inside without opening every container. This saves you time and keeps your workflow smooth. You don’t have to guess where you put your favorite small tool. Just glance at the bin and grab what you need.
Clear bins come with adjustable dividers. You can customize the size of each compartment to fit your tools. If you have a mix of small pliers, precision screwdrivers, and specialty bits, you can create a spot for each one. This flexibility means your tote stays organized, even as your tool collection grows or changes.
Secure latching systems keep everything in place. You don’t have to worry about your tools spilling out when you carry your tote from job to job. The bins stay shut, and your tools stay sorted. Durable, impact-resistant plastic means these bins can handle rough use. You get reliability and professional-grade organization every day.
Here’s a quick look at why clear bins work so well for small tools:
| Feature | Benefit |
| See-through design | Quick identification |
| Adjustable dividers | Custom fit for each tool |
| Secure latches | No spills or mixing |
| Tough plastic | Long-lasting and sturdy |
| Multiple sizes | Fits any tote or tool collection |
Tip: Use smaller clear bins for delicate tools and larger ones for bulkier items. Stack them in your tote for easy access and maximum space.
Fasteners
Fasteners like screws, nails, and bolts always seem to disappear when you need them most. Clear bins help you keep these tiny parts sorted and easy to find. You can use separate compartments for each type or size. No more digging through a pile of mixed fasteners. You see what you have, and you know when it’s time to restock.
Expandable storage options let you add more bins as your fastener collection grows. You don’t have to overhaul your whole system. Just add another bin and keep going. The secure latches keep everything locked down, so you never lose parts during transport.
Here’s how you can organize your fasteners with clear bins:
Sort screws by length and type in individual compartments.
Keep nails separated by size.
Store washers, nuts, and bolts in their own sections.
Label each compartment for even faster identification.
If you want to take your organization to the next level, try color-coded labels or stickers on each bin. This makes it even easier to spot what you need at a glance.
Note: Clear bins aren’t just for pros. Anyone can use them to keep a tool tote neat and efficient. You’ll spend less time searching and more time getting things done.
With clear bins, you turn your tool tote into a well-organized workspace. You keep small tools and fasteners sorted, protected, and ready for action. Give it a try, and you’ll wonder how you ever managed without them.
Maximum Space Tips
Want to squeeze every inch out of your tool bag? You can! With a few smart tricks, you’ll boost capacity and keep your tools easy to grab. Let’s talk about vertical storage and stackable organizers—two game-changers for maximum space.
Vertical Storage
Upright Tools
Try standing your tools upright. When you pack your hot tools bag, place screwdrivers, pliers, and wrenches vertically. This method lets you see each tool at a glance. You avoid digging through piles and save time on the job. Upright packing also protects handles and keeps sharp edges away from soft items. You’ll notice your tool bag feels lighter and more organized.
Place long tools like levels or pry bars along the sides.
Use loops or elastic bands to hold tools upright.
Keep handles facing up for quick access.
Tip: Upright storage works best for hand tools. You’ll find packing this way increases your space and keeps your hot tools bag neat.
Layered Placement
Layering is another smart move. Start by packing heavy tools at the bottom of your tool bag. Add medium-sized tools in the middle. Place small items or accessories on top. This strategic packing method uses every inch of space and keeps your tools from shifting around.
| Layer | Tools Example | Packing Benefit |
| Bottom | Power drill, mallet | Stable base |
| Middle | Tape measure, pliers | Easy to reach |
| Top | Bits, fasteners, tape | Quick grab |
You’ll find that layering helps you maintain order and prevents damage. Your hot tools bag stays balanced, and you avoid losing small parts at the bottom.
Stackable Organizers
Large Tools Bottom
Stackable organizers take your mobile tool storage to the next level. Start with a sturdy box for large tools at the bottom. This box supports the rest of your stack and keeps heavy items secure. Users love how stackable organizers let you build a custom system for every job. You can roll your tool bag to the worksite and keep everything sorted.
Place drills, saws, or hammers in the bottom box.
Use inserts to separate hand tools and boost capacity.
Small Tools Top
Add smaller boxes on top for bits, fasteners, and accessories. Stackable organizers make it easy to separate tool categories. You can grab just the box you need and leave the rest behind. Portability improves because you carry only what’s necessary. Many users say this modular design beats bulky chests or random tubs. You keep your hot tools bag compact and organized.
Store screws, nails, and cables in top boxes.
Use clear lids for quick identification.
Note: Stackable organizers work best when you have enough pieces. Try adding inserts for hand tools to make packing even easier. If you want maximum space and efficiency, this system is hard to beat.
With vertical storage, layering, and stackable organizers, you unlock the full capacity of your tool bag. You keep your tools sorted, protected, and ready for action. Strategic packing means less clutter and more productivity. Give these tips a try and watch your hot tools bag transform!
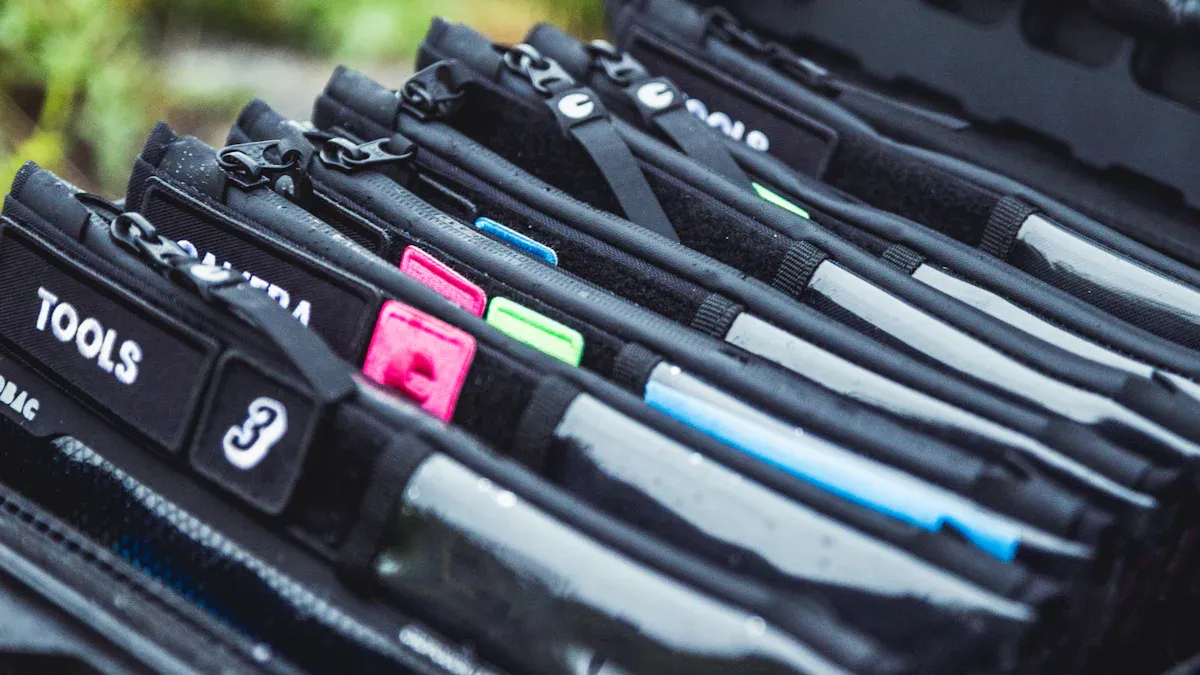
Labeling and Color Coding
![Labeling and Color Coding]()
Keeping your tool tote organized goes beyond just sorting and stacking. Labels and color coding make it easy to spot what you need in seconds. Let’s break down how you can use these simple tricks to boost your efficiency and keep your tote looking sharp.
Labels
Simple Tags
Start with basic tags for each section or compartment. You can use handwritten labels, printed stickers, or even QR codes for a modern touch. QR codes and barcodes help you track tools quickly, especially if you have a lot of gear. Just scan and go—no more guessing or digging around. If you want to keep things super simple, try using colored index cards or plastic tags. Attach them to pouches, bins, or dividers so you always know what’s inside.
Tip: Use unique identifiers for each tool. This avoids confusion and helps you spot missing items fast.
Durable Materials
Labels need to last, especially if you work in tough conditions. Choose heavy-duty materials like polyimide or metal tags. These stand up to rough handling and keep your labels readable, even after months of use. Water-resistant materials are a smart pick if you work outdoors or in damp places. You don’t want your labels peeling off or fading when you need them most. Good durability and material quality mean you won’t have to replace labels often, saving you time and hassle.
| Label Type | Best For | Why It Works |
| Metal/Polyimide | Harsh environments | High durability |
| Plastic | Everyday use | Flexible and water-resistant |
| QR/Barcode | Fast identification | Quick scanning, less error |
Automated labeling methods, like tamp labeling, can also help if you want to label lots of tools quickly. This method presses labels on fast and keeps everything consistent.
Color Coding
Tape
Color coding is a game changer for tool totes. Grab some colored tape and assign a color to each tool group—like blue for cutting tools, red for measuring, or green for fastening. Stick the tape on handles or storage areas. This makes it easy to spot the right tool at a glance. The 5S color-coding system is popular because it keeps things simple and consistent. You only need a few colors to cover all your categories, which helps everyone remember what goes where.
Use bright, contrasting colors for better visibility.
Limit your palette to 3-5 colors to avoid confusion.
Match tape colors to storage zones for quick returns.
Tags
Colored tags work just as well as tape. Attach them to tool handles or storage bins. If you want to go the extra mile, add a reference card to your tote. This card shows what each color means, so you never forget. The TruePrepper system suggests using colored duct tape, zip ties, or paracord for easy labeling. Avoid dark colors that are hard to see in low light. Consistency is key—roll out your color system all at once and stick with it.
Note: Color coding helps everyone, even new team members or those who speak different languages. Visual cues make it easy to find and return tools, keeping your tote organized for the long haul.
When you combine strong labels with a smart color coding system, you create a tote that’s easy to use and tough enough for any job. Focus on durability, clear visuals, and consistent use. Your tools will always be right where you need them.
Maintaining Organisation Routine
Keeping your tool tote organized isn’t a one-time job. You need a simple routine to keep everything in order and ready for action. Let’s break down a system that works for anyone who wants a tidy, efficient tote.
Clean After Use
Return Tools
After every project, take a minute to put each tool back in its spot. This habit saves you time later and keeps your tote from turning into a mess. When you always return tools to their designated areas, you never have to search for missing items. It’s a small step, but it makes a big difference.
Wipe Down
Grab a cloth and give your tools a quick wipe before you pack them away. Dirt and dust build up fast, especially if you work outside or on messy jobs. Wiping down your tools keeps them in good shape and stops grime from spreading inside your tote. Clean tools last longer and work better.
Tip: Make it a habit to clean as you go. You’ll spend less time on big cleanups and more time getting things done.
Weekly Check
Remove Extras
Once a week, empty your tote and check for items you don’t need. Extra screws, old receipts, or broken bits can pile up without you noticing. Toss out the clutter and keep only what you use. Cleaning experts suggest sorting and putting away items weekly to keep your tote organized and easy to use.
Reorganize
Take a few minutes to reorganize your tools. Make sure everything is in its right place. If you notice tools out of order, put them back where they belong. The IRONLAND Tool Bag article recommends emptying and wiping down your tool bag weekly. This habit prevents clutter, helps you spot wear and tear, and keeps your tote functional.
Here’s a quick weekly checklist:
Monthly Deep Clean
Update Labels
Every month, check your labels and color codes. If you’ve added new tools or changed your setup, update your labels so everything matches. Clear, accurate labels help you find tools fast and keep your system running smoothly.
Reassess Layout
Look at your tote’s layout and ask yourself if it still works for you. Maybe you use some tools more often now, or you’ve picked up new gear. Move things around if needed. A monthly deep clean gives you a chance to improve your organization and make sure your tote fits your workflow.
Note: Maintaining organisation is all about small, regular habits. Stick to this routine, and your tool tote will always be ready for the next job.
Bonus Organization Hacks
Ready to take your tool tote to the next level? Sometimes, the best organization tricks come from thinking outside the box. Here are some bonus hacks that use clever tools and everyday items to keep your tote tidy and your tools easy to grab.
Magnetic Strips
Hold Metal Tools
Magnetic strips can change the way you organize metal tools. You stick them inside your tote or on a nearby wall. Suddenly, your screwdrivers, pliers, and wrenches snap into place and stay put. You see every tool at a glance. No more digging or guessing.
Magnetic strips use vertical space that usually goes to waste.
Tools stay visible and within reach, so you work faster.
You avoid the mess of jumbled drawers or hidden tools.
Tools don’t bang together, so they last longer.
You free up space in your tote for other gear.
Magnetic strips come in different sizes and strengths for all tool types.
They keep tools secure, which means fewer accidents and less time searching.
You can use them almost anywhere—your tote, workshop, kitchen, or even your office.
Tip: Install a magnetic strip along the inside rim of your tote for instant access to your most-used metal tools.
Easy Install
You don’t need fancy tools to set up a magnetic strip. Most strips come with adhesive backing or screw holes. Just peel and stick, or use a screwdriver. You can cut some strips to fit your tote perfectly. If you want a quick fix, try magnetic bars with built-in hooks for even more storage options.
Elastic Bands
Secure Loose Items
Elastic bands are simple, but they work wonders. Wrap a sturdy band around a group of pencils, zip ties, or even a handful of drill bits. You keep small items from rolling around or getting lost at the bottom of your tote. Elastic bands also help you bundle cords or keep tape rolls together.
Custom Placement
You can stretch elastic bands across the inside of your tote or attach them to dividers. Slide in a flashlight, a pair of scissors, or a small notepad. The band holds everything snug. You create custom storage spots for odd-shaped items that don’t fit anywhere else.
Try using different colored bands to sort items by type or project.
Everyday Items
Binder Clips
Binder clips aren’t just for paper. Clip them to the edge of your tote to hold gloves, rags, or even a small flashlight. You can also use them to keep bags of fasteners closed. Binder clips are tough, cheap, and easy to move around.
Small Jars
Don’t toss those empty spice jars or baby food containers. Clean them out and use them to store screws, nails, or wire nuts. The clear sides let you see what’s inside. You can toss a few jars in your tote or line them up in a side pocket. No more mystery bags or lost fasteners.
Small jars and binder clips help you reuse what you already have, saving money and keeping your tote organized.
With these bonus hacks, you turn everyday items into powerful organization tools. You save time, prevent clutter, and always know where your gear is. Give these tricks a try and watch your tool tote stay neat, no matter how busy your day gets.
You’ve seen how smart organization hacks can turn your tool tote into a powerhouse of efficiency. With multiple compartments, pockets, and loops, you save time and keep every tool in its place. Check out this quick table of benefits:
| Feature | Benefit |
| Multiple Compartments | Find tools fast and stay organized |
| Durable Materials | Boost durability and protect your gear |
| Ergonomic Design | Carry your tote comfortably all day |
Try these tips, make them your own, and watch your workflow get smoother. A well-organized tote means less stress and more project wins!
FAQ
How often should you reorganize your tool tote?
You should check your tote weekly. A quick tidy-up keeps things in order. If you use your tools daily, a monthly deep clean helps you stay organized and spot any missing items.
What’s the best way to label your tool tote sections?
Use durable labels or colored tape. Write clearly with a permanent marker. Place labels where you can see them easily. This way, you find tools fast and keep your system simple.
Can you use household items for tool tote organization?
Absolutely! Try small jars for screws, binder clips for gloves, or elastic bands for loose items. Everyday items save money and help you stay organized without buying extra gear.
How do you keep small parts from getting lost?
Store small parts in zippered pouches or clear bins. Label each container. You can also use pill organizers or spice jars. This keeps everything visible and easy to grab.
What should you do with duplicate tools?
Remove duplicates from your tote. Keep only what you use most. Store extras at home or donate them. This frees up space and makes your tote lighter.
Is color coding really helpful?
Yes! Color coding helps you spot tools quickly. Use colored tape or tags for different tool groups. Everyone on your team will know where things go, even if they’re new.
How do you prevent your tote from getting too heavy?
Pack only what you need for the job. Use stackable organizers to separate heavy and light tools. Check your tote often and remove unused items. Your back will thank you!
What’s the fastest way to find a missing tool?
Check each labeled section first. If you use color coding, look for the right color. A quick scan usually finds the missing tool. If not, empty your tote and repack it. You’ll spot it fast.